Penetrant inspection is a method used to detect discontinuities which are “open to the surface” in non-porous materials.
A fluid containing a dye is applied to the surface of a component for a specific amount of time (dwell). Capillary action draws the penetrant into any surface discontinuities.
Excess penetrant is removed from the part leaving only the penetrant inside the discontinuities.
Developer is then applied to pull some of the penetrant out of the discontinuities thus making them visible under a UV light.
This trapped penetrant in the discontinuity will increase the visibility of any surface defects by providing contrast between the discontinuity and surrounding surface.


The apparent simplicity of the penetrant inspection can be very deceptive. Slight variations in the penetrant inspection process can result in reduced sensitivity and failure to indicate small discontinuities.
Training and experience are essential in performing penetrant inspections.
Our inspectors each receive over 432 hours of training before being tested for their certification per NAS-410 specifications.
Their training continues afterwards with annual refresher classes, random performance evaluations and scheduled program audits. Both internal and NADCAP audits.
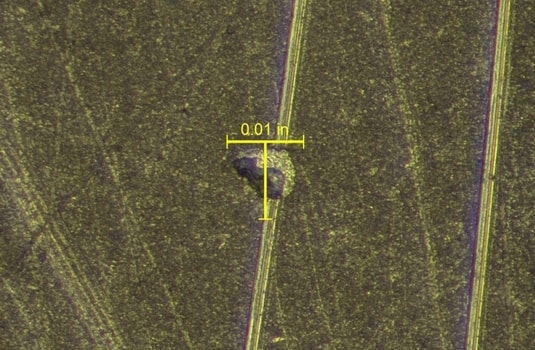
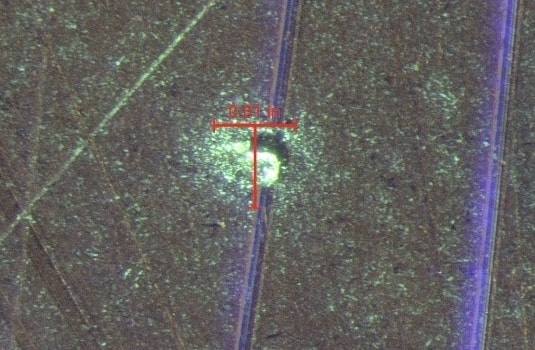
The pictures above show a 0.009” indication on an in-service part. Fluorescent penetrant inspection can detect surface discontinuities as small as 0.002”.
